
Lockheed Martin F-22 Raptor
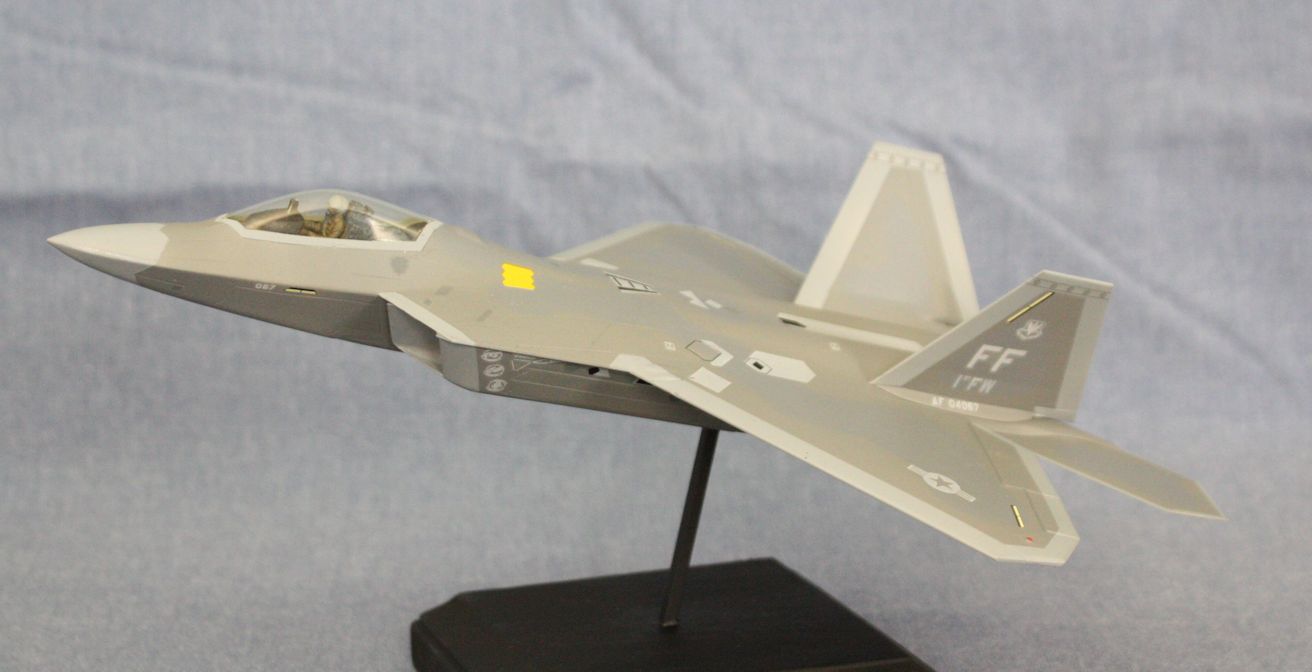
This is the F-22, and was a gift from my daughter Katie. I got it for Christmas, and since I was running out of room, I decided to do something different with this one. I had seen how to mount a model very nicely on scalespot.com, and wanted to see if I could do the same. (The tutorial is in the "How To" section). It turned out to be very easy, and you can see the results.
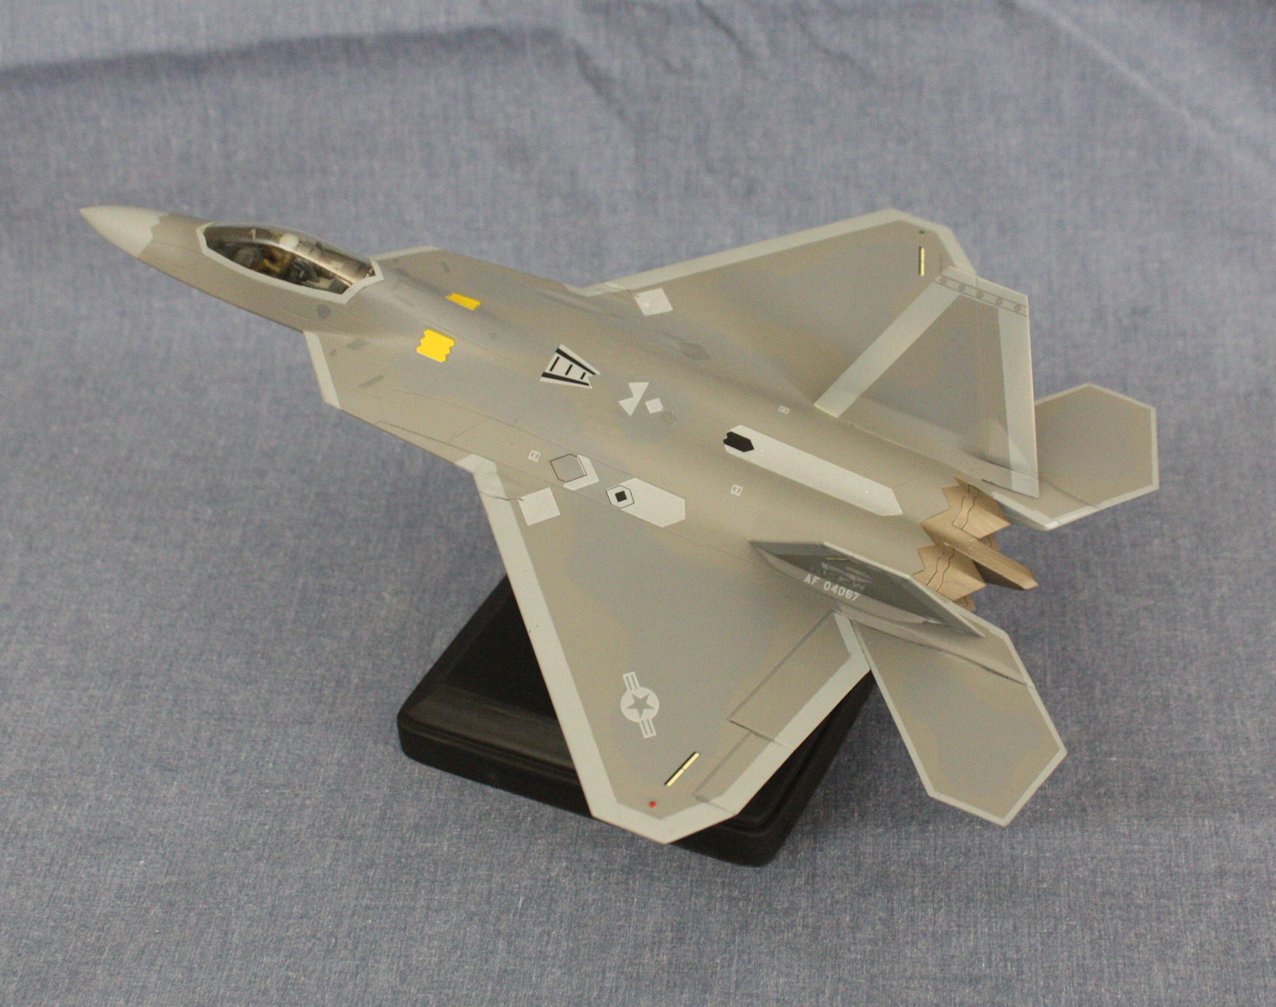
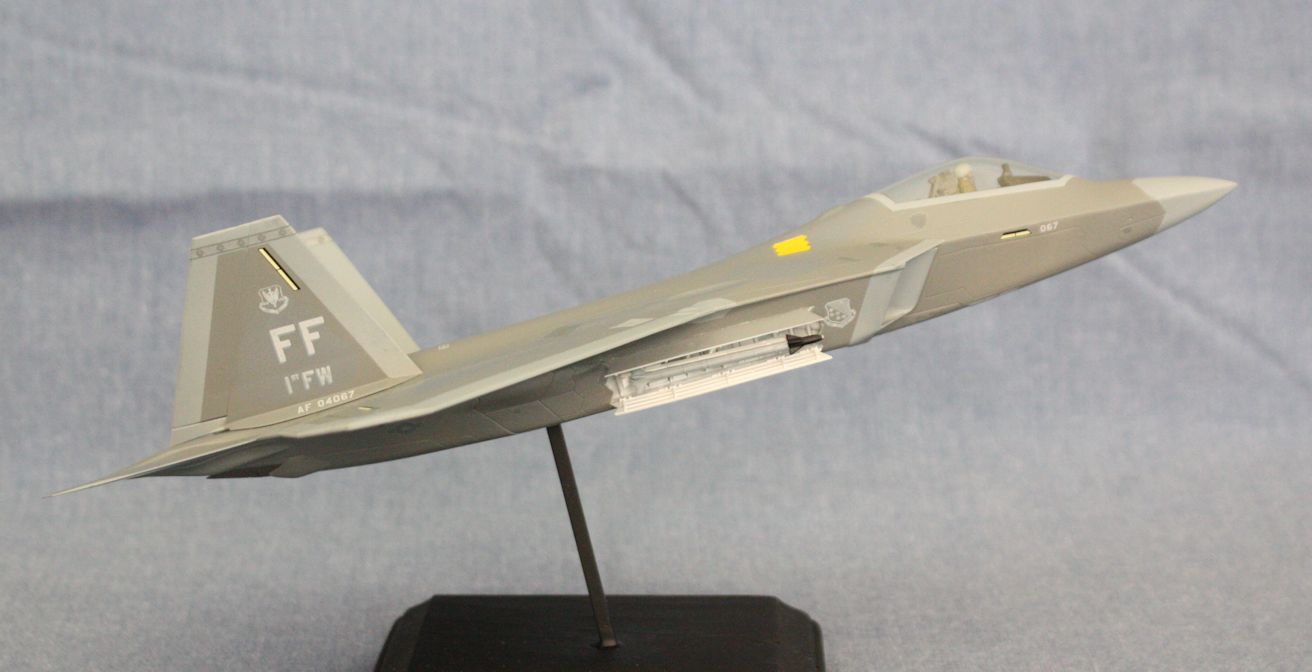
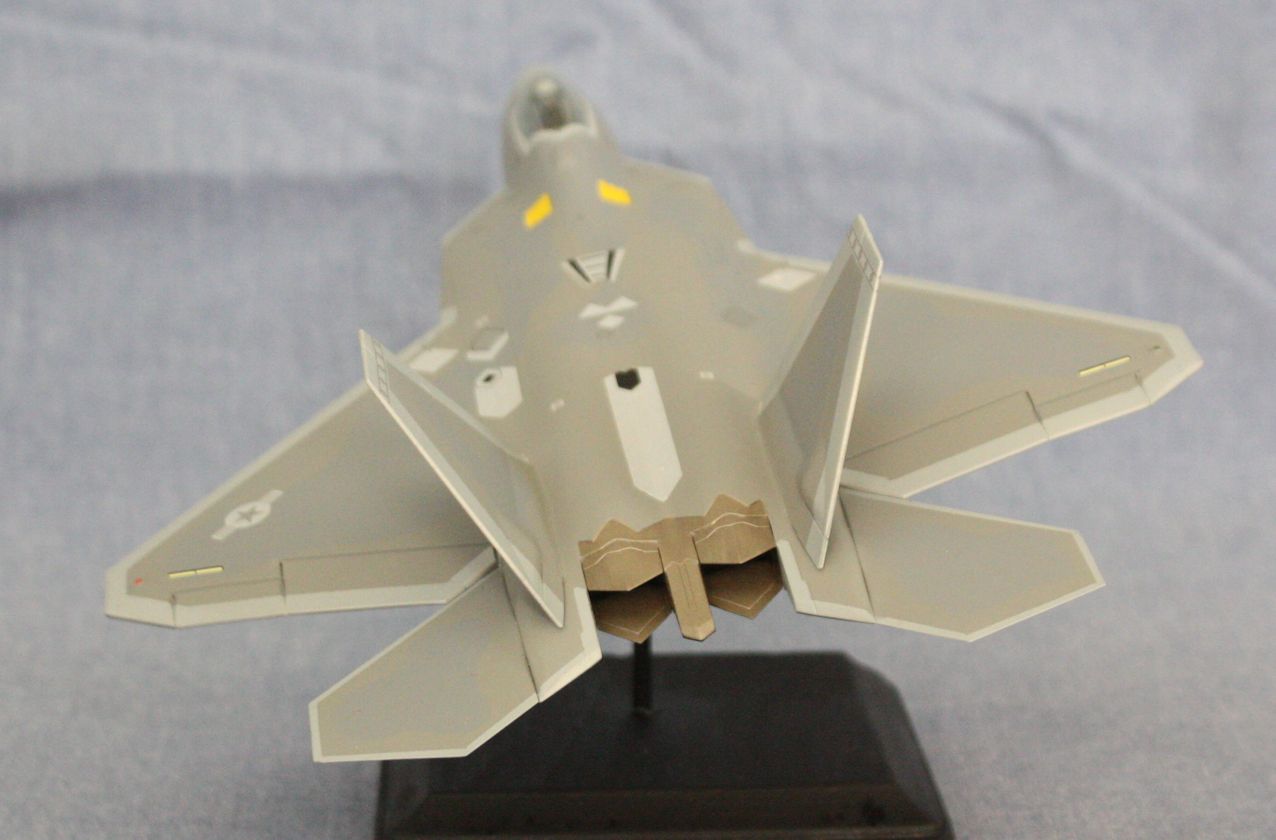
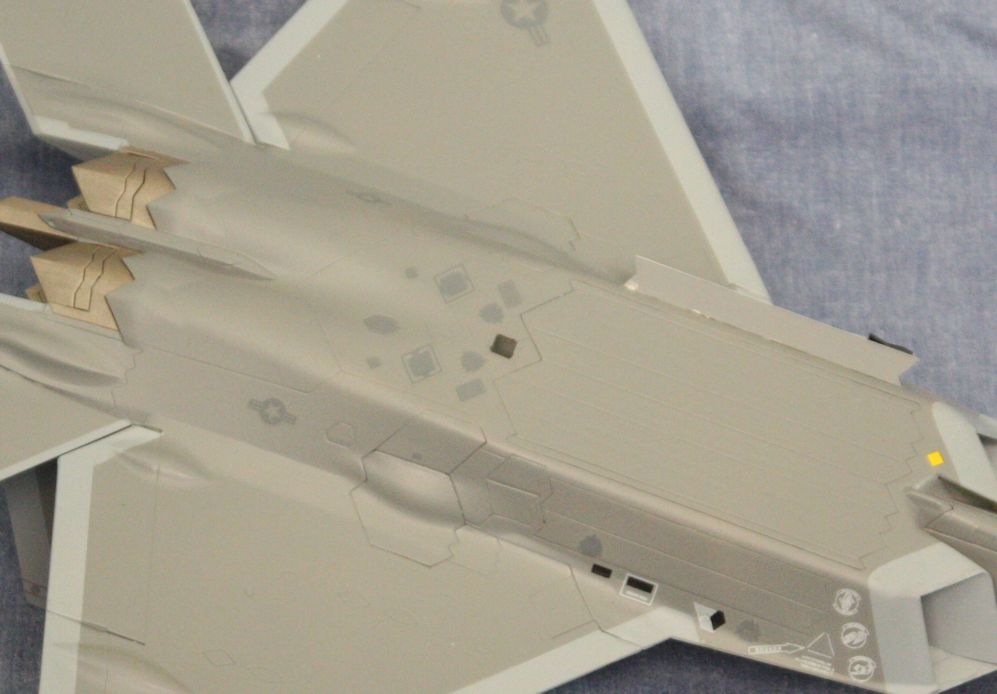
The model is Revell kit from a few years ago. The kit has several options about how you want to display the model. You can open all the bays up, put the gear up or down, have an open or closed canopy, and you can even lower the arresting hook. I decided to keep it simple and just opened the one bay and kept the gear up since was going to be an in-flight model.
The model went together pretty easily, and is a good kit for someone who was some experience, but doesn't want a difficult kit. There are a few slightly tricky parts though that would be to difficult for a brand new modeler. The details are fairly well done though, but I can't vouch for the accuracy. The weapon and landing gear bays have a lot of detail in them, so someone who wants to spend the time painting them up would end up with a very nice display.
There are also options for about 5 different aircraft from different squadrons. So you don't have can pick your favorite plane and go from there. The decals are pretty nice, but the color of the various panels was slightly off from my paint. I don't know if my paint is bad, but I suspect that the decals are just 'close enough.' Also the yellow ones on top should actually be more of a yellowish metallic color somewhere between gold and silver. If you want a more accurate model, skip all the decals and paint those spots the correct colors.
The Stand
The stand was pretty simple. If you go to scalespot.com and go to the "How To" section you'll see his tutorial. It is pretty easy to follow, and once you get the square tube in the body, you build the model as normal. You can angle the tube so the plane could be in a bank, climb, or however you wanted.
The part he doesn't go into is the wood base. I just drilled a hole large enough to hold the metal tube to fit in, and then I used super glue to hold it in place. The trick is to do this step after you have the tube in the model so you can set the metal tube to the position you need. Once the glue is dry, fill in any gaps that are left.
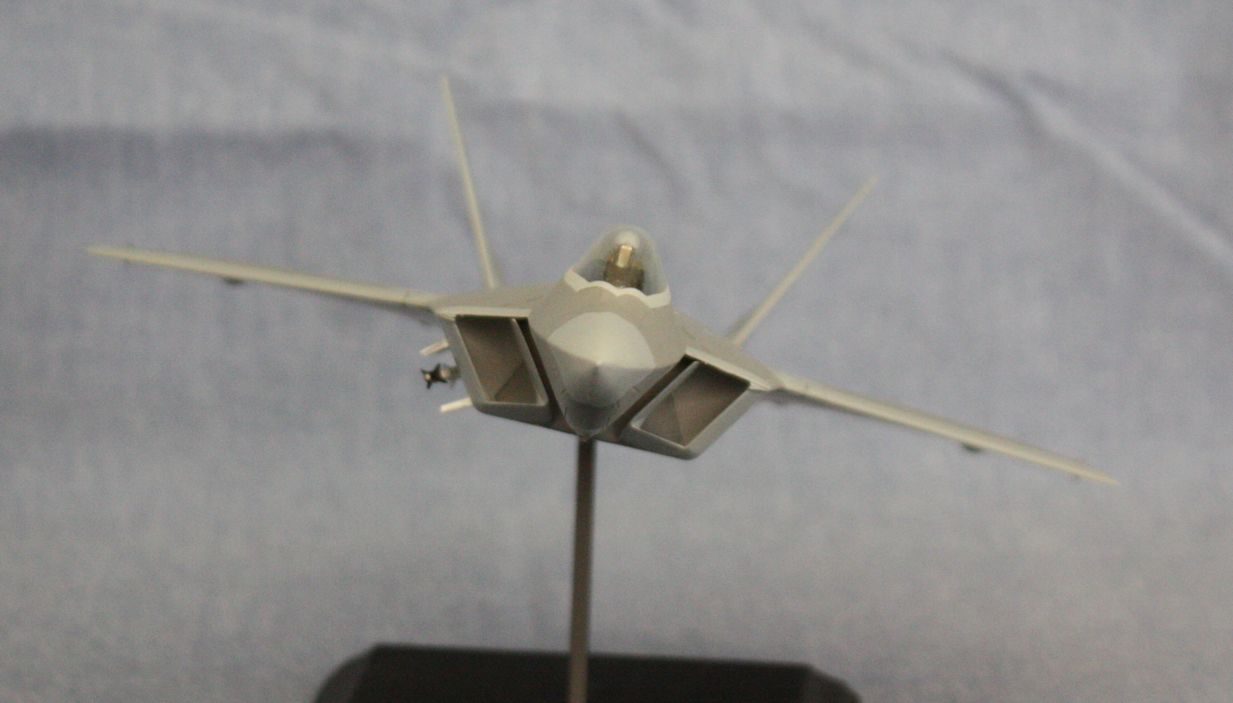
Once you glue the tube in place, either paint or stain the base. If you stain, you'll need to get the hole as small as you can so you won't see any glue. Either way, make sure you sand the base nice and smooth to get a good finish. You could also use other material to make the base, but cheap bases are available at Michael's and other craft stores
This model turned out very well, and I thought the stand worked quite well. It displays very nicely on the shelf, and the slight climb and bank make the model have a more 'in flight' look to it.